Designed for beginners, learn how to retouch portraits in Photoshop by using the frequency separation process along with the burn and dodge tools.
If you’re just getting started using Photoshop, this beginner-level tutorial will help you learn the first aspects of the skin retouching technique, a skill that comes in handy when you need to touch up photos for an ecommerce store, a magazine layout, or for use in promotional materials.
Today we are going to learn how to do a basic skin retouching technique by using dodging and burning tools, as well as frequency separation. You want to create a natural look, yet maintain a smooth, natural skin appearance and texture.
Create a duplicate background layers
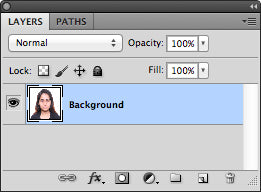
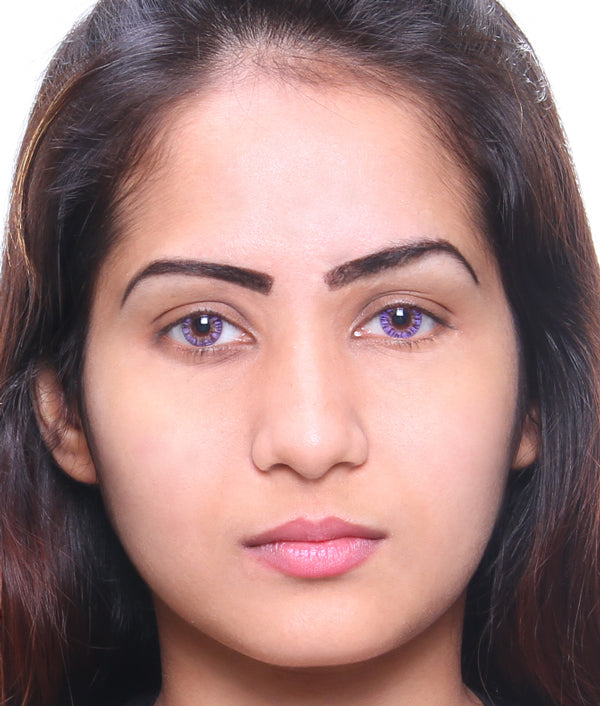
To start, open the image and the background layer.

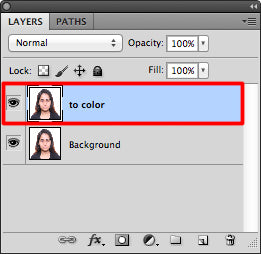
Next, create two duplicate layers by right-clicking on the original background layer. Now you’ll rename the duplicate layers, one with “to color” and the other “to texture.”

Isolating the color and texture
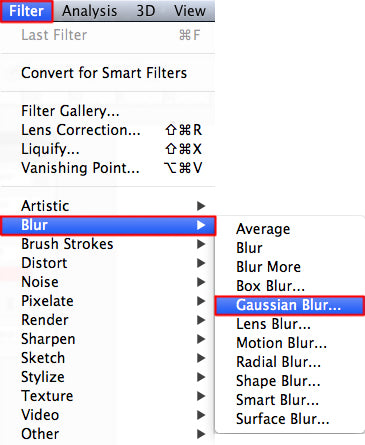
Click on the color layer and go to Filter > Blur > Gaussian Blur.
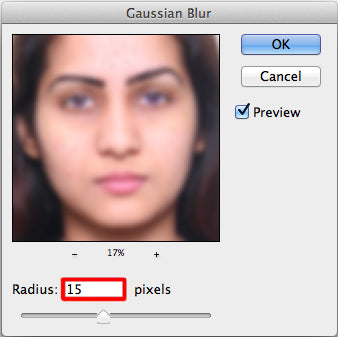
Increase the Radius until you observe the colors mixing together and the image blurring. For this tutorial, we’re setting it to 15. Then click “OK”.
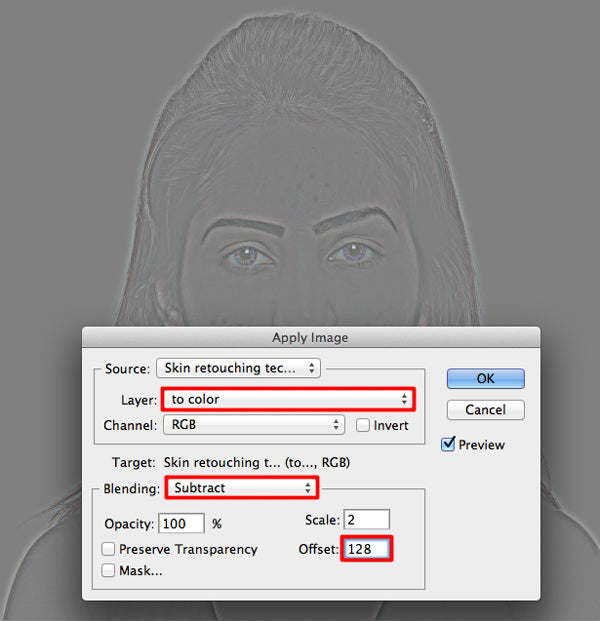
Next, click on the texture layer and go to Image > Apply Image. Under Layer, choose “to color”, Blending to “subtract”, the Scale to 2, Offset to 128, and hit “OK”.
Set your blending mode to Linear Light.

Select the Area to Clone
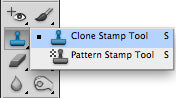
Now we’ll begin retouching the skin by clicking on the color layer, choosing the Clone Stamp, and setting the Opacity and Flow to between 30-50%.
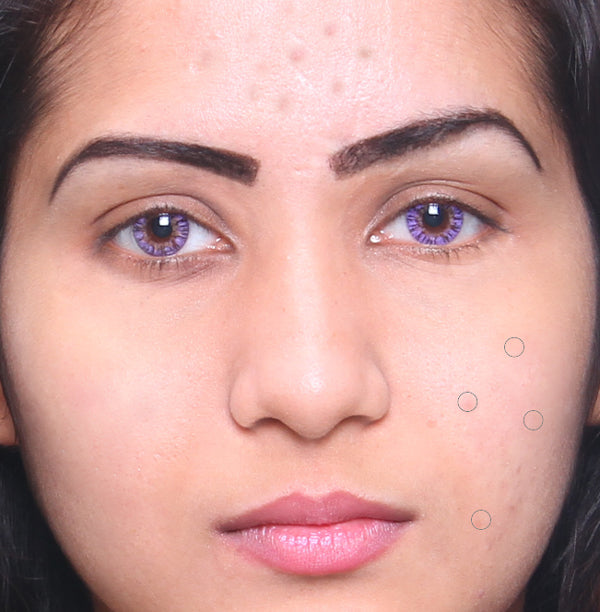
Select the area around the eyes and cheeks that is smooth and clear to clone. Lighten the skin on both sides under the eyes. It is helpful if you make an extra copy of the background layer to see the difference between the before and after image.
Retouching the Photo

Using the Clone tool, lighten the area around the side of the nose to remove any dark shadows and bottom of the nose to remove any redness. Continue to retouch different parts of the face to remove lines, bumps, shadows and redness, and general smoothing of the skin.

Next, click on the texture layer. Using the Clone Stamp tool, go over the face to remove the blemishes, selecting the clear area and dragging them to the spots area of skin.

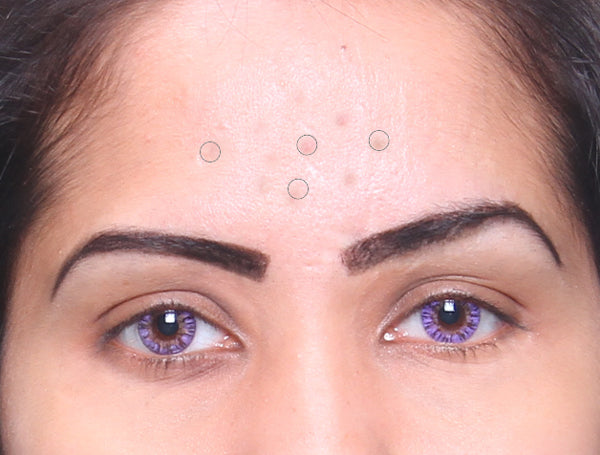
You can also use the Clone Stamp tool to clean up any stray hairs, eyebrow hairs, or remove any fine lines around the mouth area, or creases under the lips.
Using the Dodging and Burning tools
Now that the facial area is cleaned up, we’ll continue to retouch the image using the dodging and burning tools.

Create two new layers, naming one “Burn” and the other “Dodge”. Set Opacity at 50% for both.
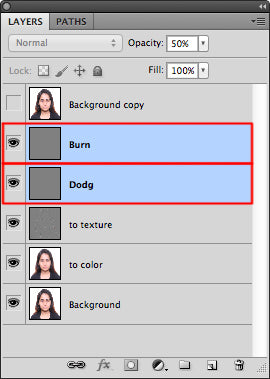
Set Exposure to 50% for both as well.

With these layers you can paint the image with any color.
Start out around the eye areas, or in the eyes like the iris, under the brows, by the brow bone. Brightening uneven skin tones, removing blemishes, and touching up any areas that still needed it, like the nose, cheeks or eyes.
Use the burn tool to darken the eyebrows a bit. You can also darken the outer corner of the eye, and give the impression that it is lifted just a bit. This can be useful if you have someone who is squinting a bit, or has droopy eyes. The burn tool can also be used to add definition to the cheekbones.

If you want to add makeup to the image, create a new layer and set it to Soft Light. Just use the black paintbrush and create eyeliner and use the eraser tool to make any adjustments. You can even add an eyeshadow color, lip, and cheek color.
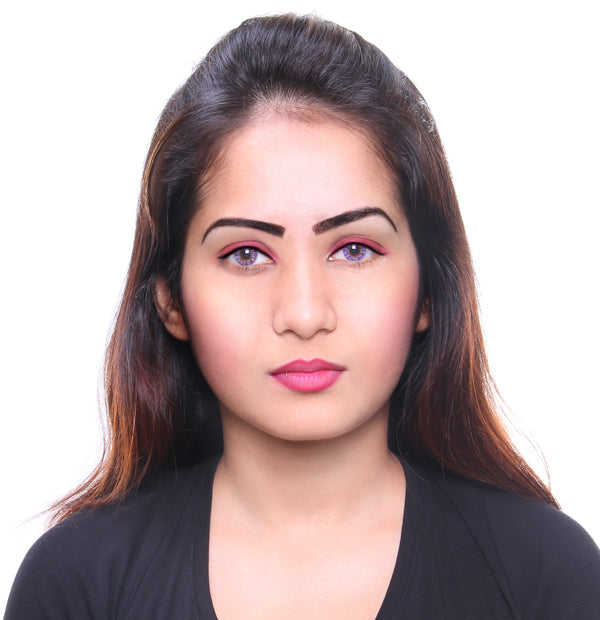
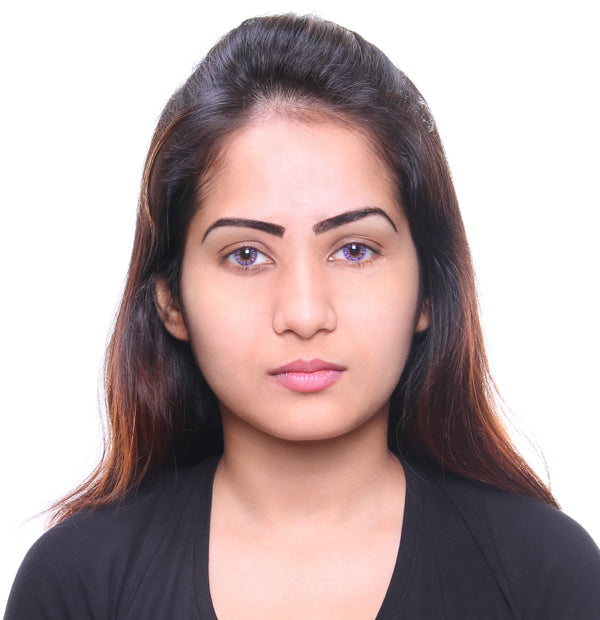
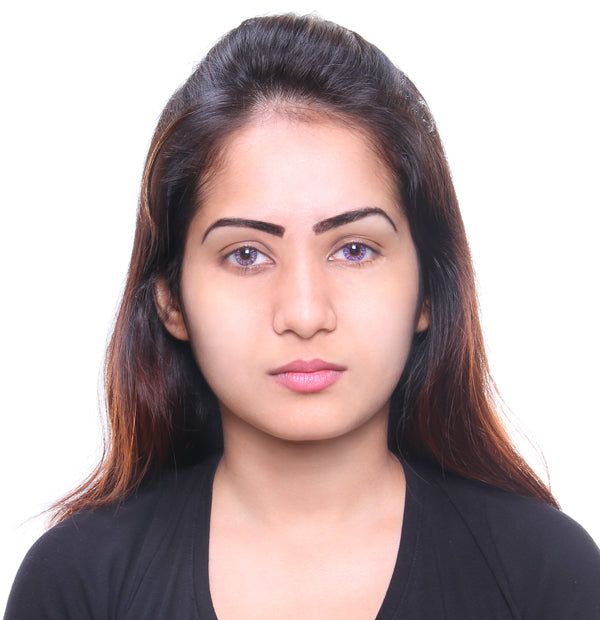
The Before and After

So you’re on you way to retouching portraits in Photoshop using the frequency separation process along with the burn and dodge tools. If you’d like to learn more, we invite you to check out our other photo retouching tutorial.
clipping path service
clipping path service
clipping path service
photoshop face swap
face swap photoshop
how to swap heads in photoshop
how to create a drop shadow in photoshop
reduce image size without losing quality photoshop
best camera for product photography
amazon image requirements
swap face in photoshop
convert to vector
amazon picture requirements
hair background
digital photos backgrounds
shoe photography
photoshop remove all white
face swap photo editor
change heads in photoshop
clipping path in photoshop
photoshop clipping paths
swapping faces in photoshop
reduce file size photoshop
how to swap faces in photoshop
reduce image file size photoshop
how to change file size in photoshop
how to replace sky in photoshop
magic wand tool in photoshop
reduce image size photoshop
sky replacement photoshop
blue background photoshop
product photography background
photoshop sky replacement
photoshop clipping paths
photoshop practice photos
product dimensions on amazon
amazon image size requirements
best size for amazon images
amazon image guidelines
portrait photography white background
photoshop clothing
off white backgrounds
blue photoshop background
ebay photo dimensions
amazon photo requirements
photoshoot style
what is photo editing
500x500 background
pen tool icon
auto face swap
etsy photos size
masking magic
how to face swap
ecommerce photo
product background
mannequin images
path images
image masking
ebay image size
etsy photo size
ebay picture size
photoshop reduce file size
ecommerce photography
etsy listing photo size
amazon product image requirements
amazon image requirements
photoshop practice pictures
reduce file size in photoshop
best camera for product photography
product dimensions amazon format
photoshop reduce image size
amazon product image size
hair transparent background
photoshop practice images
best image size for ebay
sky background images for photoshop
off-white background
beauty product photography
how to reduce image file size in photoshop
magic wand tool photoshop cs6
how to use photoshop cs6
how to change background color in photoshop cs6
how to remove white background in photoshop cs6
how to change background in photoshop cs6
how to reduce image size in photoshop without losing quality
how to get rid of whitespace in photoshop
how to take pictures for amazon
how to change the sky in photoshop
photoshop cs6 change background color
how to replace a sky in photoshop
how to photoshop faces onto things
how to photoshop a face onto another body
remove background color photoshop
how to blend faces in photoshop
how to do a face swap in photoshop
how to put a picture on a background in photoshop
clipping path service
clipping path service
photoshop face swap
face swap photoshop
how to swap heads in photoshop
how to create a drop shadow in photoshop
reduce image size without losing quality photoshop
best camera for product photography
amazon image requirements
swap face in photoshop
convert to vector
amazon picture requirements
hair background
digital photos backgrounds
shoe photography
photoshop remove all white
face swap photo editor
change heads in photoshop
clipping path in photoshop
photoshop clipping paths
swapping faces in photoshop
reduce file size photoshop
how to swap faces in photoshop
reduce image file size photoshop
how to change file size in photoshop
how to replace sky in photoshop
magic wand tool in photoshop
reduce image size photoshop
sky replacement photoshop
blue background photoshop
product photography background
photoshop sky replacement
photoshop clipping paths
photoshop practice photos
product dimensions on amazon
amazon image size requirements
best size for amazon images
amazon image guidelines
portrait photography white background
photoshop clothing
off white backgrounds
blue photoshop background
ebay photo dimensions
amazon photo requirements
photoshoot style
what is photo editing
500x500 background
pen tool icon
auto face swap
etsy photos size
masking magic
how to face swap
ecommerce photo
product background
mannequin images
path images
image masking
ebay image size
etsy photo size
ebay picture size
photoshop reduce file size
ecommerce photography
etsy listing photo size
amazon product image requirements
amazon image requirements
photoshop practice pictures
reduce file size in photoshop
best camera for product photography
product dimensions amazon format
photoshop reduce image size
amazon product image size
hair transparent background
photoshop practice images
best image size for ebay
sky background images for photoshop
off-white background
beauty product photography
how to reduce image file size in photoshop
magic wand tool photoshop cs6
how to use photoshop cs6
how to change background color in photoshop cs6
how to remove white background in photoshop cs6
how to change background in photoshop cs6
how to reduce image size in photoshop without losing quality
how to get rid of whitespace in photoshop
how to take pictures for amazon
how to change the sky in photoshop
photoshop cs6 change background color
how to replace a sky in photoshop
how to photoshop faces onto things
how to photoshop a face onto another body
remove background color photoshop
how to blend faces in photoshop
how to do a face swap in photoshop
how to put a picture on a background in photoshop
liked that you mentioned professional photo retouching services offer photo repair, photo retouching and background removal service to make your pictures look great.
ReplyDeleteBeing able to transform PDF to DOC on-line will be very a handy factor to most individuals. PDF formatted recordsdata are gaining an increasing number of recognition at present. The primary cause for this, is that the dimensions of the recordsdata are extra moveable to obtain and add. If you want to learn more about this topic please visit onlineconvertfree.com
ReplyDeleteThis comment has been removed by the author.
ReplyDeleteUseful tutorial for Photoshop designers, learn a lot and i will try it and get back here if needed any help.For clipping path serviceclipping path service
ReplyDeleteIt was great to see my work. You can do a lot better. Thanks
ReplyDeleteClipping Path |
Clipping Path, shadow-service |
shadow service |
I have nothing to say about this good article, just amazing. thanks
ReplyDeletehttps://clippingmaskphotoshop.com/photo-restoration-services/