Learn the Ghost Mannequin image manipulation technique for removing a person or mannequin from a clothing image for repurposing on your ecommerce site.
In this Photoshop tutorial we’ll show you how to use the Ghost Mannequin image manipulation technique for removing a person or mannequin wearing a piece of clothing so the image can be repurposed in other ways, including for product pages on your ecommerce site or for promotional purposes.
Step 1:
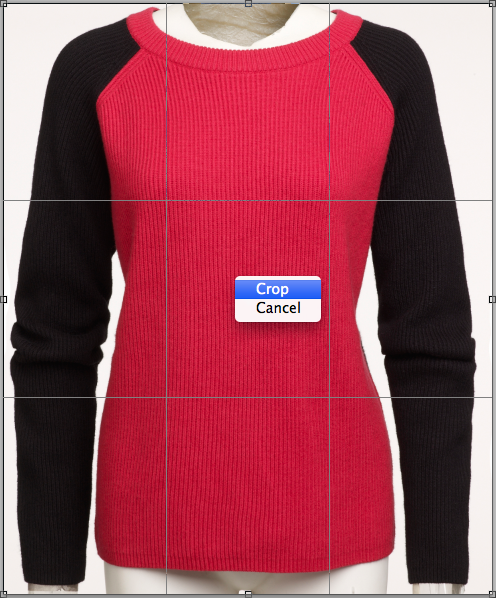
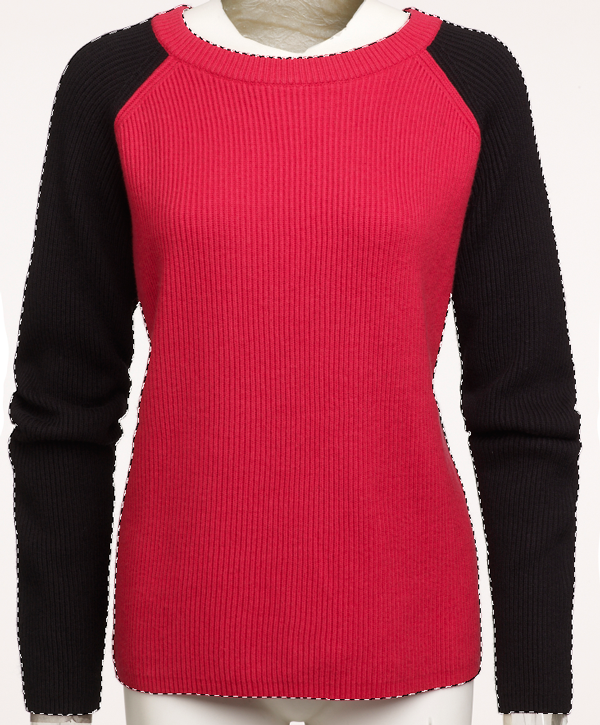
Crop the photo down so that you have a minimum of background showing behind the garment.
Step 2:
With the front of the garment displayed on the screen, duplicate a image layer within the panel or click Ctrl+J.

Step 3:
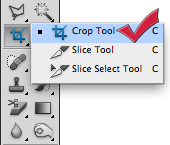
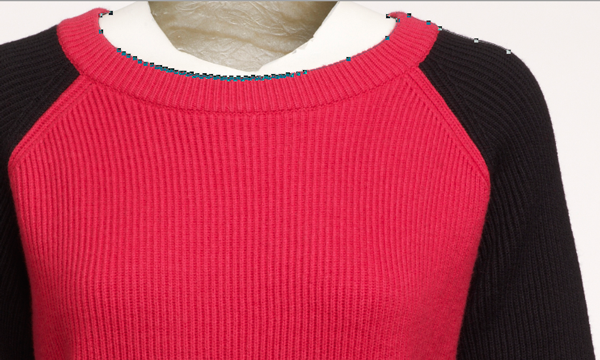
Select the Photoshop Pen tool to edit out the mannequin and remove the background from the garment image.
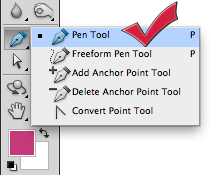
Start at the top of the collar right next to the mannequin’s neck at the top of the collar and begin working your way down along line of the neck. It doesn’t have to be absolutely perfect, just be sure to take small steps as you continue to work your way along the inside of the collar.
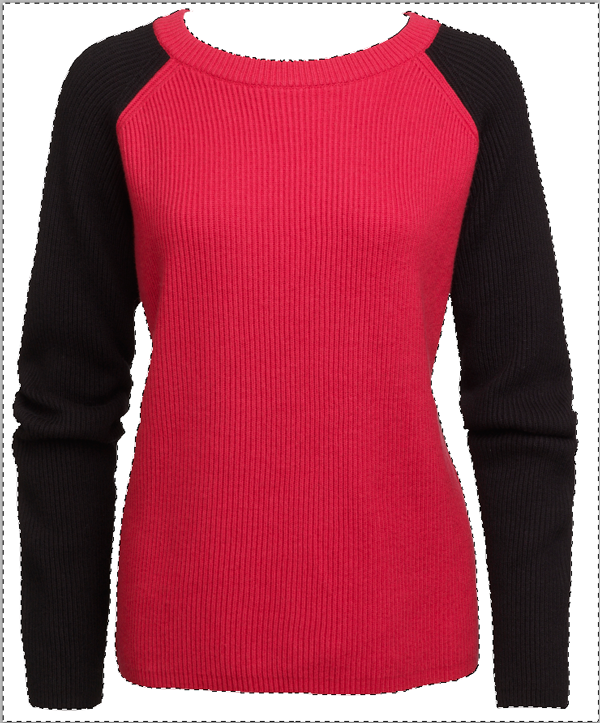
When you reach the top of the collar, keep using the Pen tool along the line of the entire garment.
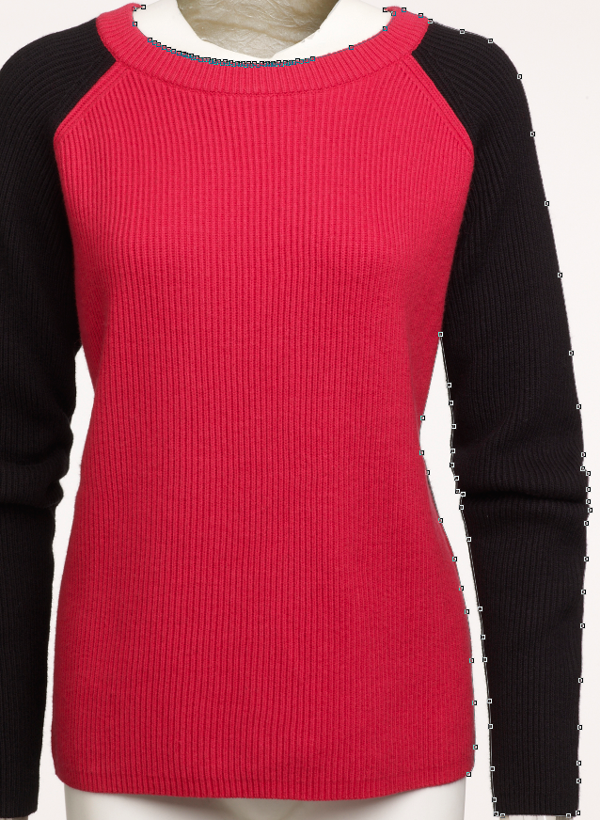
Repeat the process with the legs of the mannequin to complete the path and join it when you will get the “O” symbol.
Step 4:
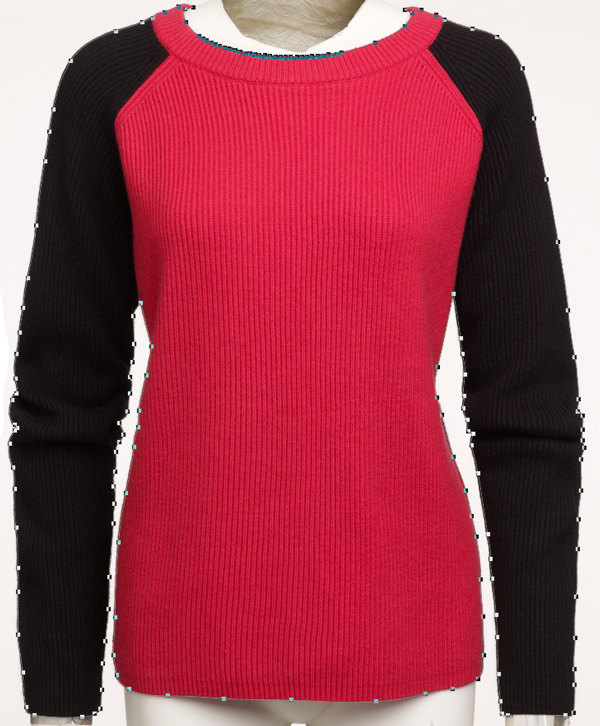
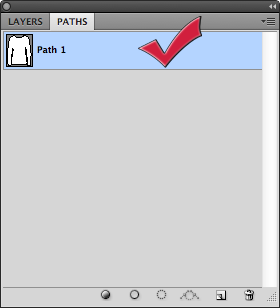
Hold the control/command key and click on the path palette to select the paths, Inverse the selection and Delete.
Step 5:
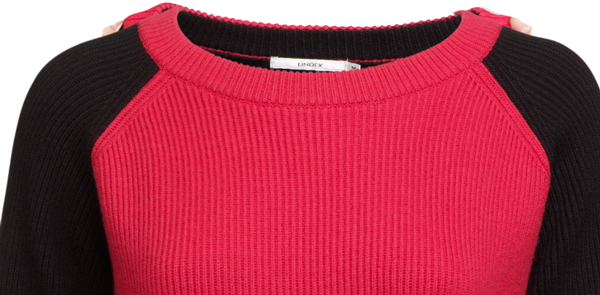
Next you’ll bring in the inside back of the clothing image and crop the label/collar area.
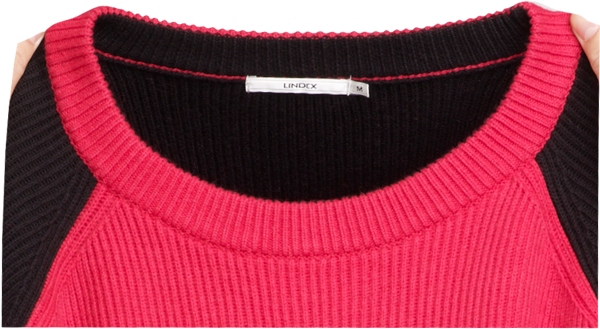
Click Ctrl+A, Ctrl+C and Ctrl+V to move the inside back of the collar area into your image.
Move it underneath the first layer of the front of the garment so it shows through.
Step 6:
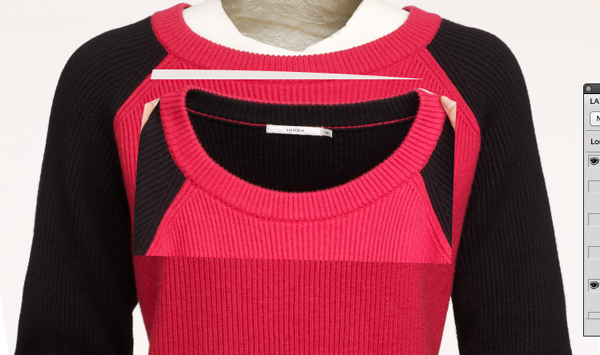
Now you’ll finesse the merging of the two images to make it look seamless and natural. Select the Pen tool again.
Start at the top of the collar and cut across the area you just inserted to remove excess material.
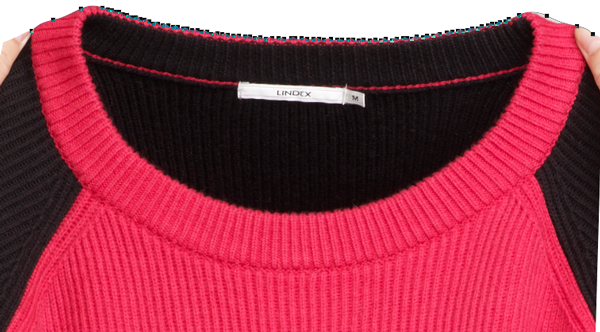
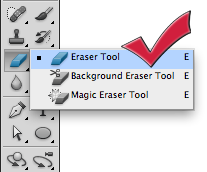
Click the Eraser tool to smooth out the rough edges and remove all the nicks and bumps on the collar. Blend in the areas so there is no seam between the collar and the inserted piece. You may leave a little shadow if you like for a natural look. Touch up any other areas to give it a more polished look.

You can also use a Brush tool set a 25 size to add a little black/dark to the inside bottom of the collar near the top of the label to add a bit of shading for a more realistic look.
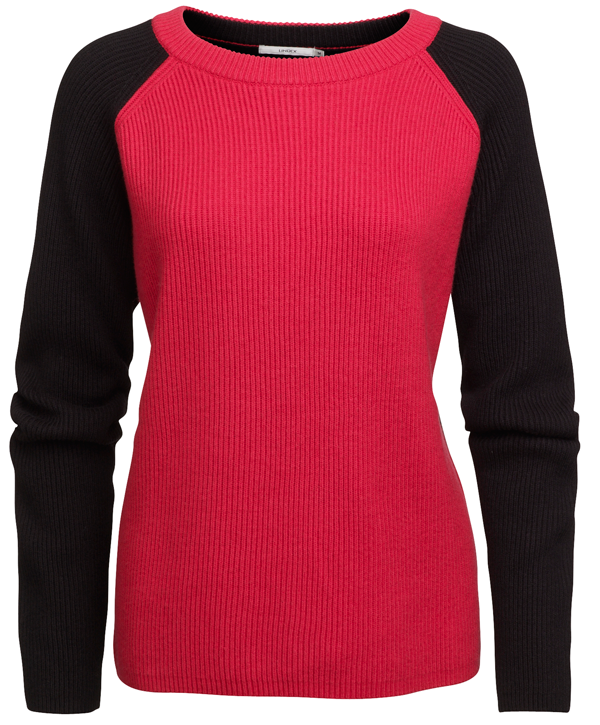
You’re all done! If you want to continue your Photoshop learning, we suggest checking out the “How To Create A Realistic Drop Shadow” tutorial.
clipping path service
clipping path service
clipping path service
photoshop face swap
face swap photoshop
how to swap heads in photoshop
how to create a drop shadow in photoshop
reduce image size without losing quality photoshop
best camera for product photography
amazon image requirements
swap face in photoshop
convert to vector
amazon picture requirements
hair background
digital photos backgrounds
shoe photography
photoshop remove all white
face swap photo editor
change heads in photoshop
clipping path in photoshop
photoshop clipping paths
swapping faces in photoshop
reduce file size photoshop
how to swap faces in photoshop
reduce image file size photoshop
how to change file size in photoshop
how to replace sky in photoshop
magic wand tool in photoshop
reduce image size photoshop
sky replacement photoshop
blue background photoshop
product photography background
photoshop sky replacement
photoshop clipping paths
photoshop practice photos
product dimensions on amazon
amazon image size requirements
best size for amazon images
amazon image guidelines
portrait photography white background
photoshop clothing
off white backgrounds
blue photoshop background
ebay photo dimensions
amazon photo requirements
photoshoot style
what is photo editing
500x500 background
pen tool icon
auto face swap
etsy photos size
masking magic
how to face swap
ecommerce photo
product background
mannequin images
path images
image masking
ebay image size
etsy photo size
ebay picture size
photoshop reduce file size
ecommerce photography
etsy listing photo size
amazon product image requirements
amazon image requirements
photoshop practice pictures
reduce file size in photoshop
best camera for product photography
product dimensions amazon format
photoshop reduce image size
amazon product image size
hair transparent background
photoshop practice images
best image size for ebay
sky background images for photoshop
off-white background
beauty product photography
how to reduce image file size in photoshop
magic wand tool photoshop cs6
how to use photoshop cs6
how to change background color in photoshop cs6
how to remove white background in photoshop cs6
how to change background in photoshop cs6
how to reduce image size in photoshop without losing quality
how to get rid of whitespace in photoshop
how to take pictures for amazon
how to change the sky in photoshop
photoshop cs6 change background color
how to replace a sky in photoshop
how to photoshop faces onto things
how to photoshop a face onto another body
remove background color photoshop
how to blend faces in photoshop
how to do a face swap in photoshop
how to put a picture on a background in photoshop
clipping path service
clipping path service
photoshop face swap
face swap photoshop
how to swap heads in photoshop
how to create a drop shadow in photoshop
reduce image size without losing quality photoshop
best camera for product photography
amazon image requirements
swap face in photoshop
convert to vector
amazon picture requirements
hair background
digital photos backgrounds
shoe photography
photoshop remove all white
face swap photo editor
change heads in photoshop
clipping path in photoshop
photoshop clipping paths
swapping faces in photoshop
reduce file size photoshop
how to swap faces in photoshop
reduce image file size photoshop
how to change file size in photoshop
how to replace sky in photoshop
magic wand tool in photoshop
reduce image size photoshop
sky replacement photoshop
blue background photoshop
product photography background
photoshop sky replacement
photoshop clipping paths
photoshop practice photos
product dimensions on amazon
amazon image size requirements
best size for amazon images
amazon image guidelines
portrait photography white background
photoshop clothing
off white backgrounds
blue photoshop background
ebay photo dimensions
amazon photo requirements
photoshoot style
what is photo editing
500x500 background
pen tool icon
auto face swap
etsy photos size
masking magic
how to face swap
ecommerce photo
product background
mannequin images
path images
image masking
ebay image size
etsy photo size
ebay picture size
photoshop reduce file size
ecommerce photography
etsy listing photo size
amazon product image requirements
amazon image requirements
photoshop practice pictures
reduce file size in photoshop
best camera for product photography
product dimensions amazon format
photoshop reduce image size
amazon product image size
hair transparent background
photoshop practice images
best image size for ebay
sky background images for photoshop
off-white background
beauty product photography
how to reduce image file size in photoshop
magic wand tool photoshop cs6
how to use photoshop cs6
how to change background color in photoshop cs6
how to remove white background in photoshop cs6
how to change background in photoshop cs6
how to reduce image size in photoshop without losing quality
how to get rid of whitespace in photoshop
how to take pictures for amazon
how to change the sky in photoshop
photoshop cs6 change background color
how to replace a sky in photoshop
how to photoshop faces onto things
how to photoshop a face onto another body
remove background color photoshop
how to blend faces in photoshop
how to do a face swap in photoshop
how to put a picture on a background in photoshop
There is work for everyone.
ReplyDeleteClipping Path |
Clipping Path, shadow-service |
shadow service |