Learn the step-by-step technique for adding interesting lighting effects to any image in Photoshop.
Using simple manipulation techniques can make significant enhancements to an image. In this Photoshop tutorial, we’ll explore how to add a series of lighting effects.
We’ll start by preparing the background.
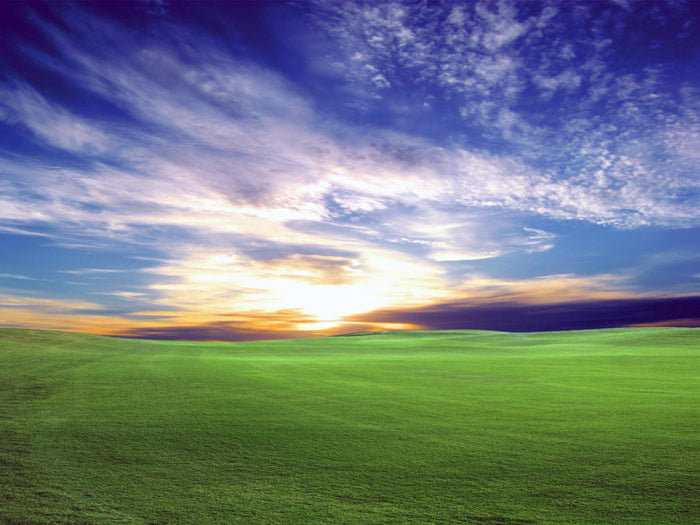
For this example, we want a more rounded area in the grass and ground area.
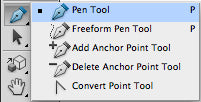
Select the pen tool and outline the area to keep.
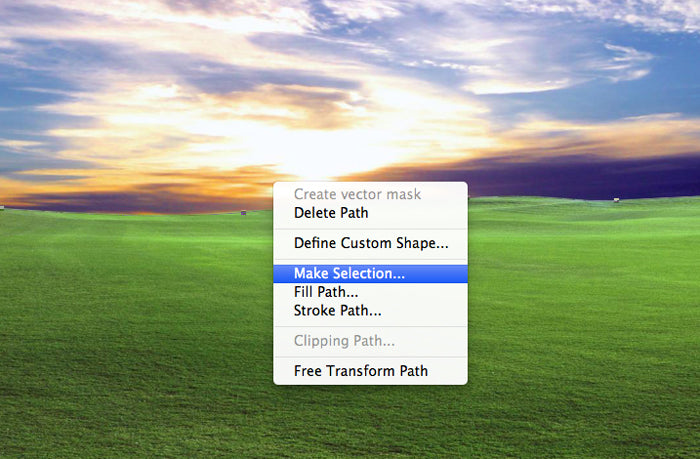
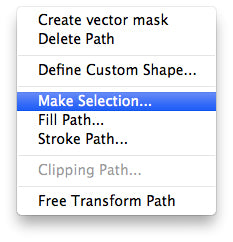
Right click and choose “Make Selection.”
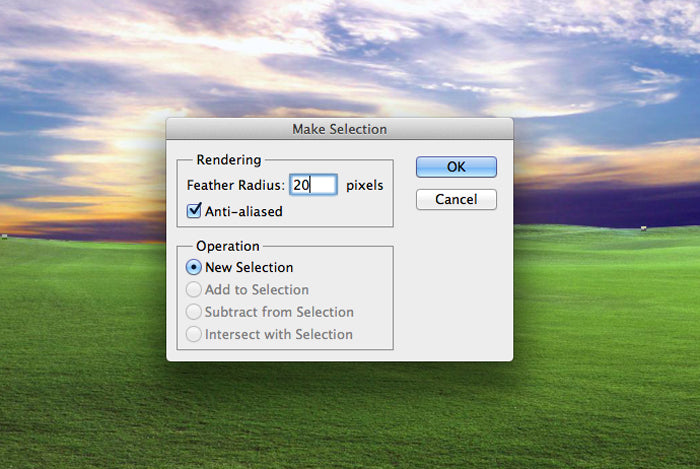
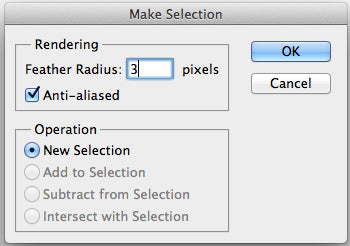
In the window, for Feather Radius, enter 20 and click OK.
Click the Selection tool, right click to open the drop-down menu and choose “Layer via Copy.”
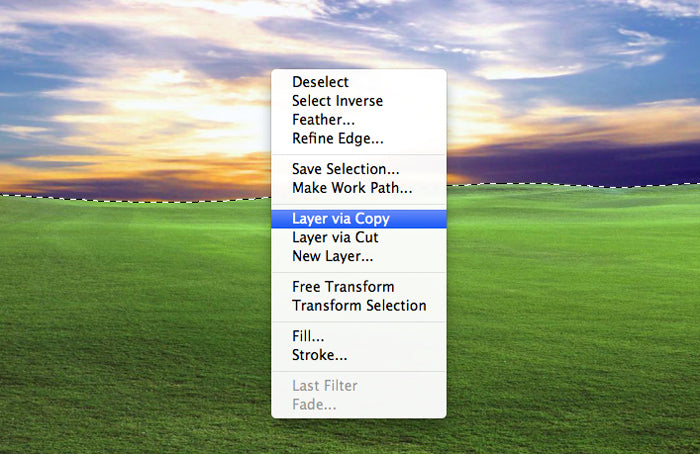
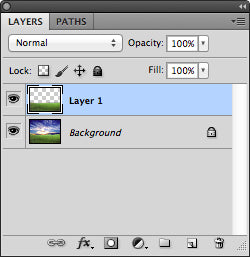
On the right side of the screen, the new layer should appear above the background on the right side.
To round it off click on Selection tool and right click to choose Free Transform.
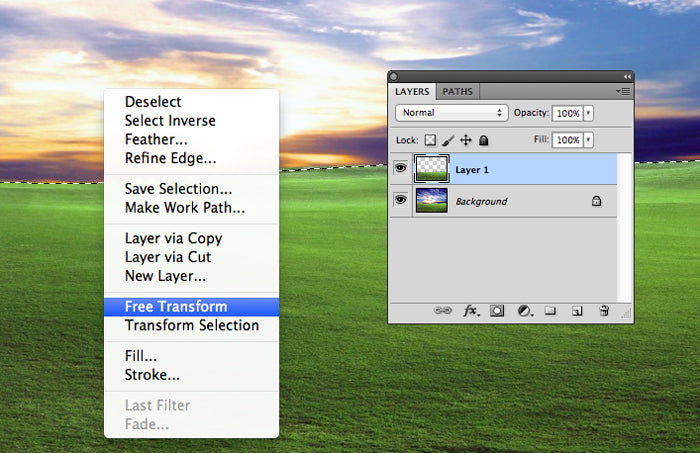
Now the bottom half of the screen will be enclosed.
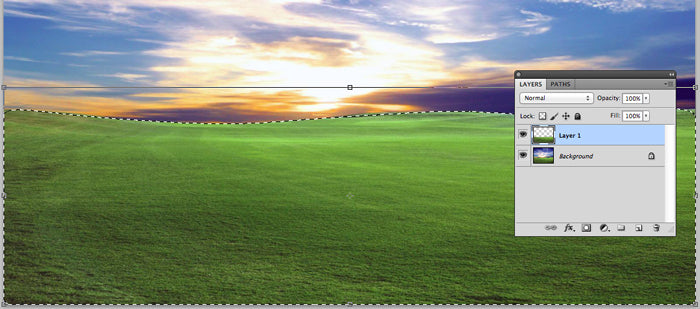
Right click again and choose Warp.
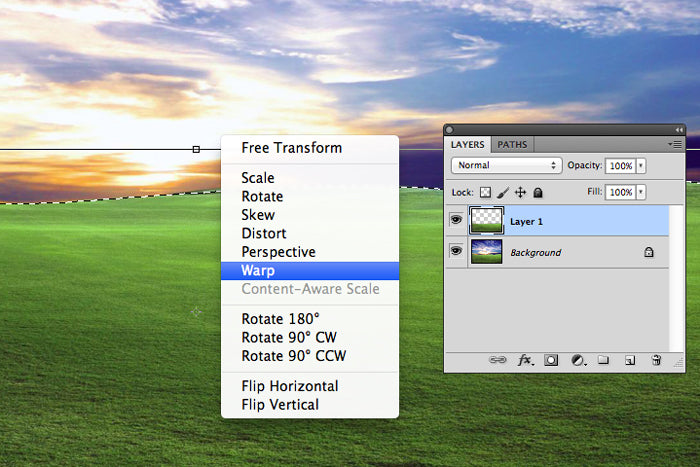
You should see a grid of 9 boxes.
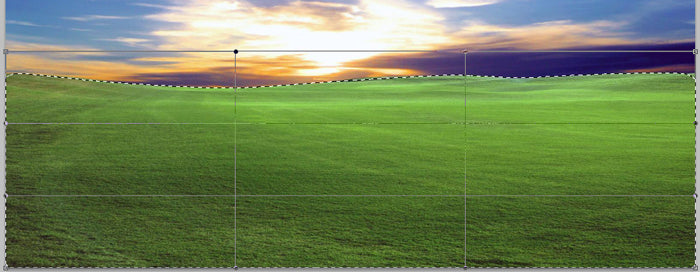
Go to the top line and the 2nd vertical line, and move the line up just a bit. Continue to the next vertical line to the right, lifting it until you see a slight curve, going to the right so all the horizontal lines are all curved slightly.
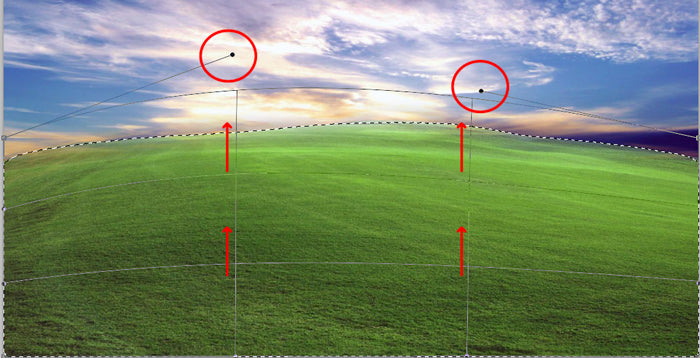
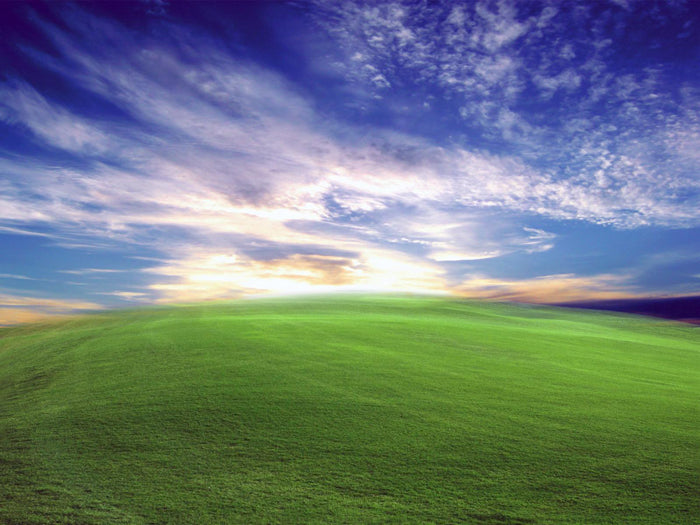
Finally, click apply and the background image is ready for next edit.
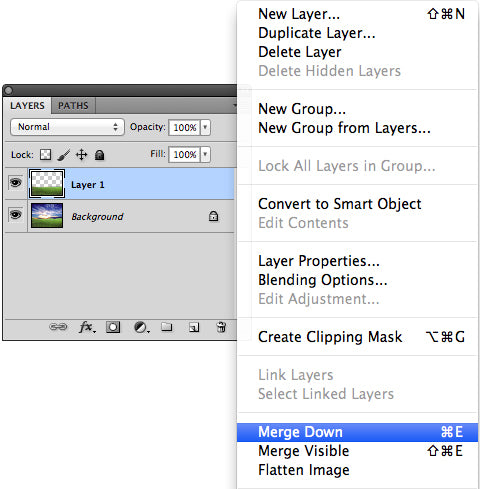
You will now merge the layers by clicking on the upper right corner of the layer.
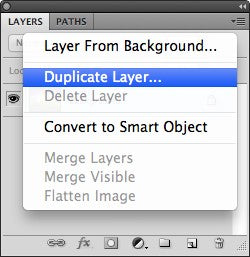
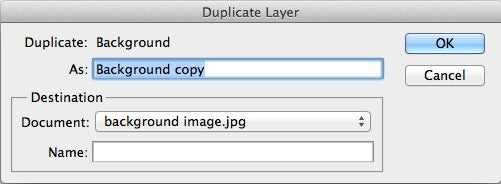
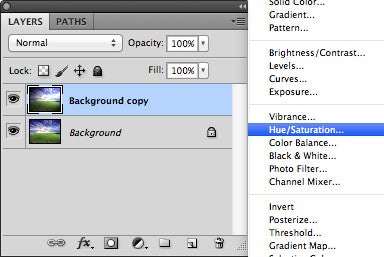
Duplicate this layer to begin the light effects.
Name it “background copy” and click OK.
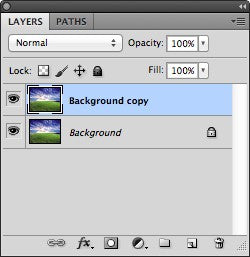
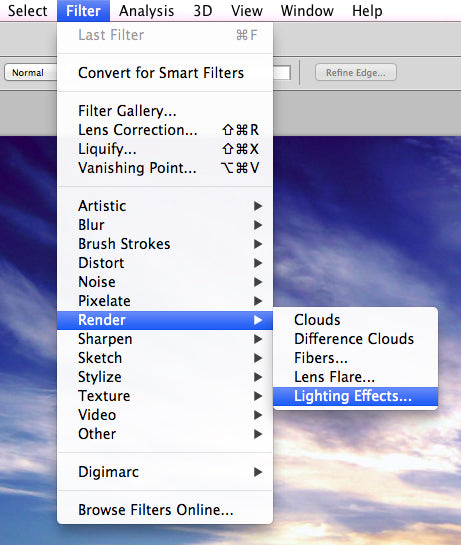
To resize the photo, click on Filter, then Render, then Lighting Effects.
You should see one elliptical ring, tilting to the screen, with 4 points on the ring.
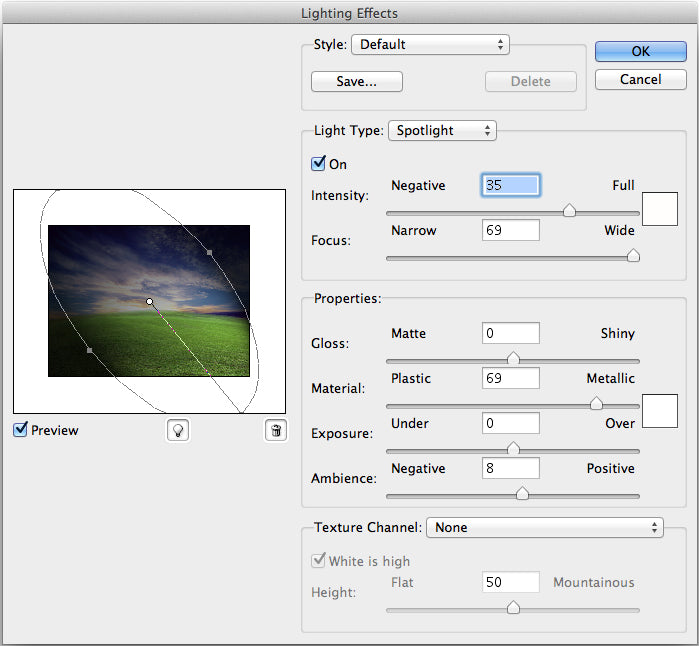
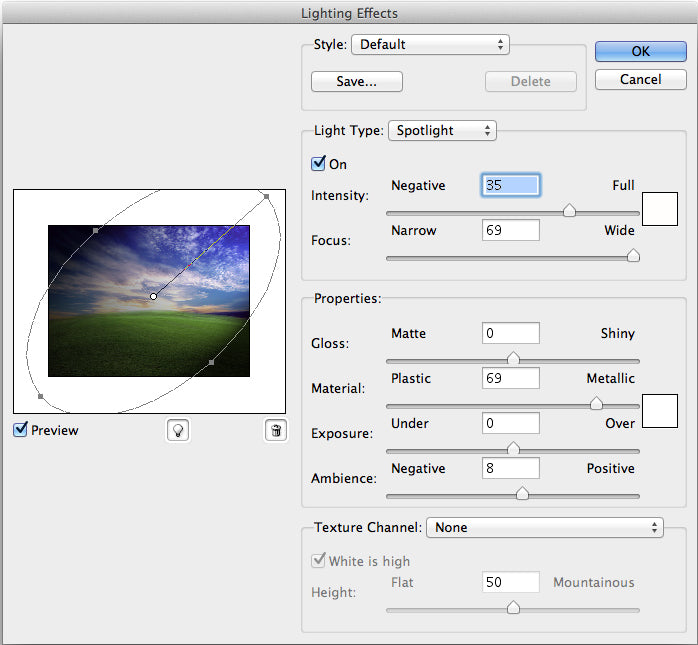
Using the mouse, extend the circles to make them longer and wider, extending them to the upper right hand corner of the image.
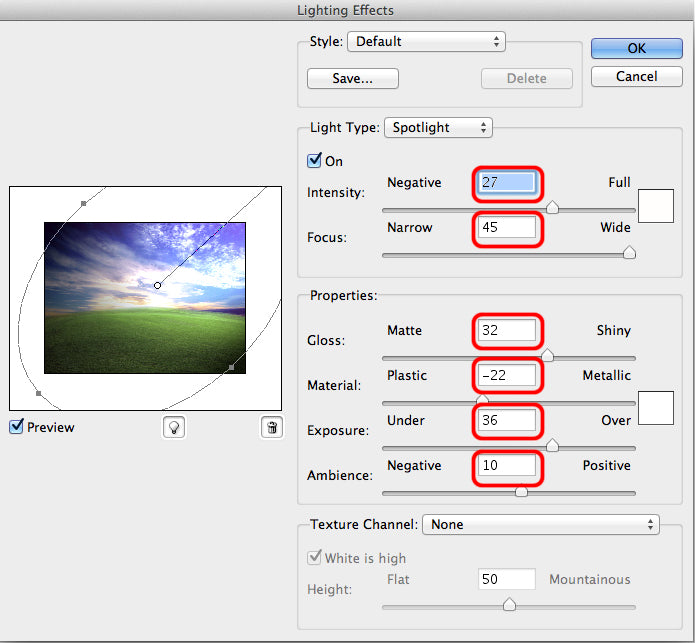
Go to properties, and for this example, we’ll set Intensity at 27, Narrow at 45, Gloss at 32, Material at -22, Exposure at 36, and Ambience at 10.
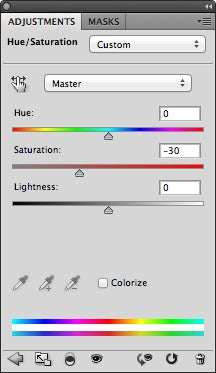
Go to hue saturation to set the lightness levels.
Set saturation to -30.
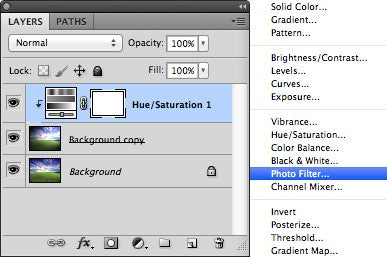
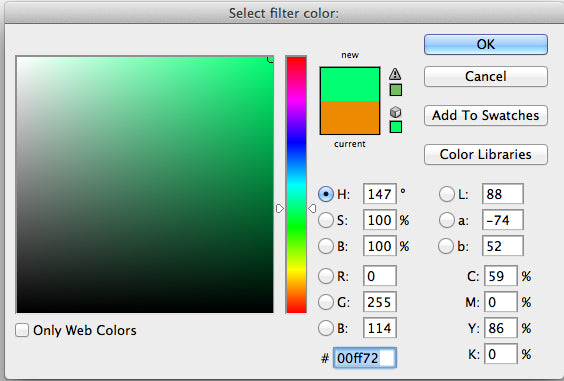
Choose Photo Filter, and in the window you enter your color of choice. We’re using 00ff72(green). Then hit OK.

To change the green hue of the picture, (making it darker or lighter), go to the Gradient map.
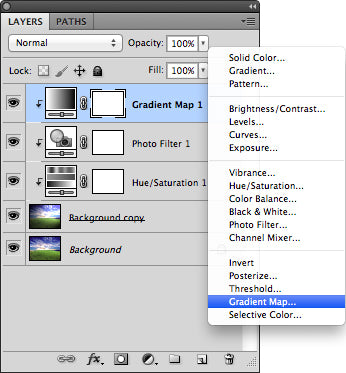
Enter the first color as 00a7ec (blue), click OK. The next color is ff9c00 (orange).
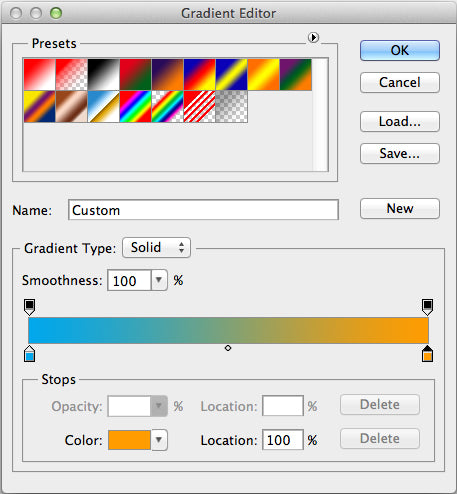
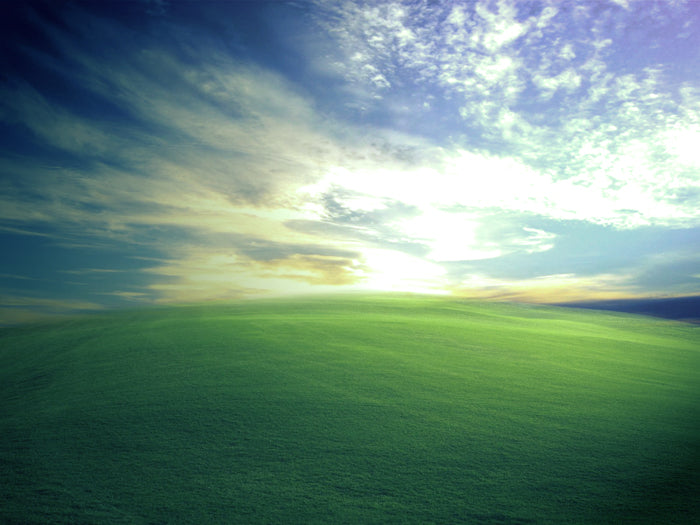
You should see a blue sky with bright orange.

Now, change the blank mode to soft light by setting the opacity at 60%.
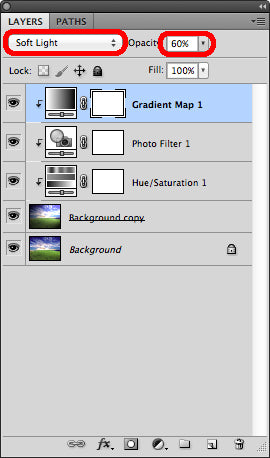
Now the background is ready for the next step.
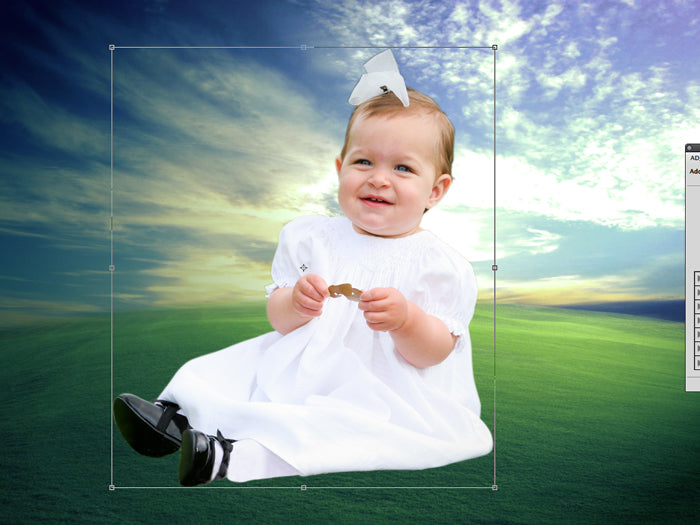
We’ll now add the image of a person to the picture.
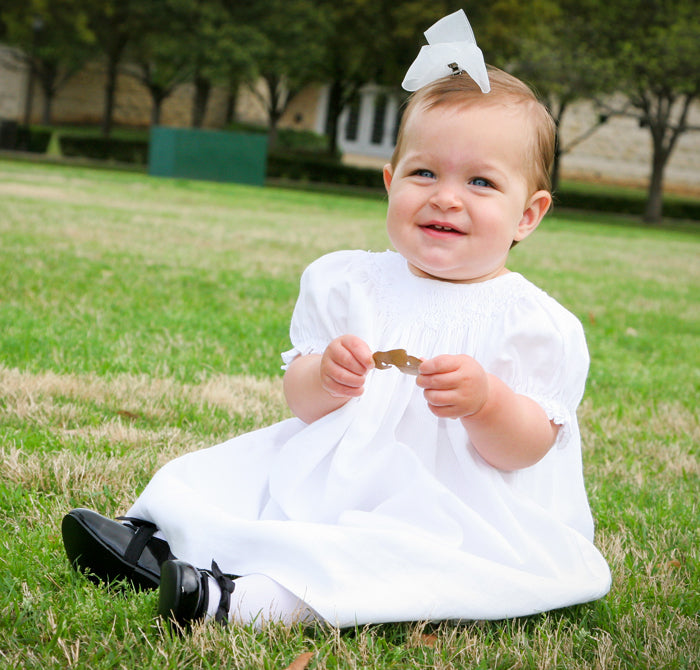
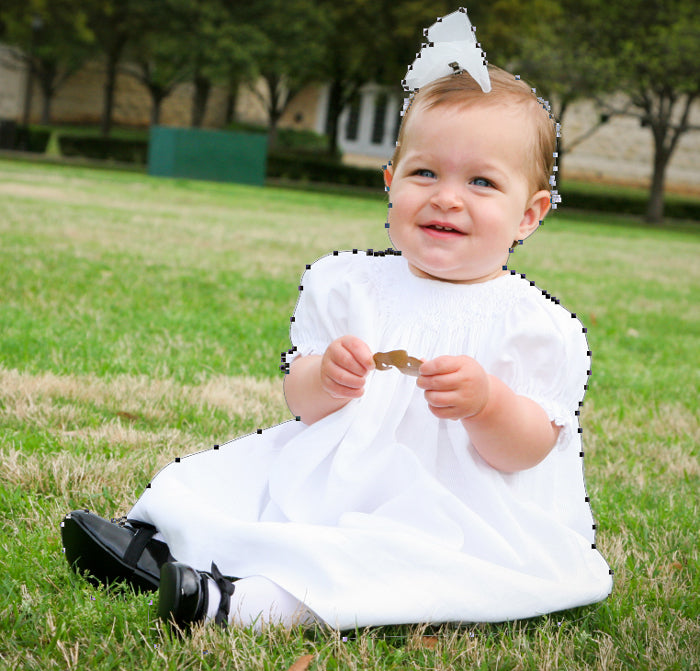
Right click to Make Selection, for Further Radius enter 3 pixels, and hit OK.
Copy the selection by clicking Command+C, and then drag this image to the new project image.

Using the Eraser tool, trace around the entire person’s outline, removing any elements, such as the blades grass in this photo, retouching the image so it blends in more naturally with your background.

To change the size of the person within the background image, use the Free Transform tool to create a box around the image. Reduce to the size you desire, and click OK.
Use the Burn tool (located right underneath the Dodge tool) to deepen the hue and tone of the person’s clothing.
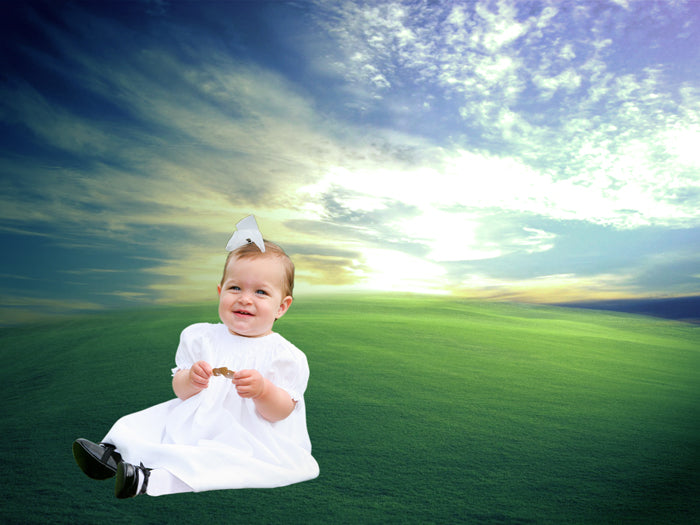
To create a realistic drop shadow, use the Brush tool to provide a level of shadow underneath the person’s image.
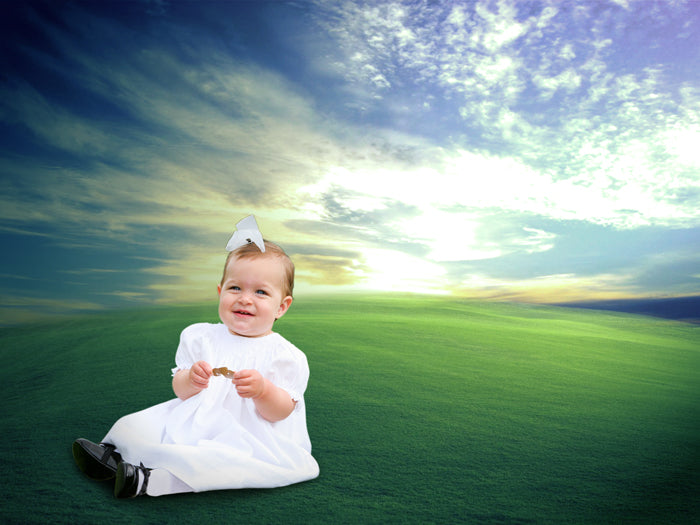
And you’re done! We invite you to check out our other Photoshop tutorials, including Turning a Photo into a Pencil Sketch, and Learning the Skin Retouching Technique.
clipping path service
clipping path service
clipping path service
photoshop face swap
face swap photoshop
how to swap heads in photoshop
how to create a drop shadow in photoshop
reduce image size without losing quality photoshop
best camera for product photography
amazon image requirements
swap face in photoshop
convert to vector
amazon picture requirements
hair background
digital photos backgrounds
shoe photography
photoshop remove all white
face swap photo editor
change heads in photoshop
clipping path in photoshop
photoshop clipping paths
swapping faces in photoshop
reduce file size photoshop
how to swap faces in photoshop
reduce image file size photoshop
how to change file size in photoshop
how to replace sky in photoshop
magic wand tool in photoshop
reduce image size photoshop
sky replacement photoshop
blue background photoshop
product photography background
photoshop sky replacement
photoshop clipping paths
photoshop practice photos
product dimensions on amazon
amazon image size requirements
best size for amazon images
amazon image guidelines
portrait photography white background
photoshop clothing
off white backgrounds
blue photoshop background
ebay photo dimensions
amazon photo requirements
photoshoot style
what is photo editing
500x500 background
pen tool icon
auto face swap
etsy photos size
masking magic
how to face swap
ecommerce photo
product background
mannequin images
path images
image masking
ebay image size
etsy photo size
ebay picture size
photoshop reduce file size
ecommerce photography
etsy listing photo size
amazon product image requirements
amazon image requirements
photoshop practice pictures
reduce file size in photoshop
best camera for product photography
product dimensions amazon format
photoshop reduce image size
amazon product image size
hair transparent background
photoshop practice images
best image size for ebay
sky background images for photoshop
off-white background
beauty product photography
how to reduce image file size in photoshop
magic wand tool photoshop cs6
how to use photoshop cs6
how to change background color in photoshop cs6
how to remove white background in photoshop cs6
how to change background in photoshop cs6
how to reduce image size in photoshop without losing quality
how to get rid of whitespace in photoshop
how to take pictures for amazon
how to change the sky in photoshop
photoshop cs6 change background color
how to replace a sky in photoshop
how to photoshop faces onto things
how to photoshop a face onto another body
remove background color photoshop
how to blend faces in photoshop
how to do a face swap in photoshop
how to put a picture on a background in photoshop
clipping path service
clipping path service
photoshop face swap
face swap photoshop
how to swap heads in photoshop
how to create a drop shadow in photoshop
reduce image size without losing quality photoshop
best camera for product photography
amazon image requirements
swap face in photoshop
convert to vector
amazon picture requirements
hair background
digital photos backgrounds
shoe photography
photoshop remove all white
face swap photo editor
change heads in photoshop
clipping path in photoshop
photoshop clipping paths
swapping faces in photoshop
reduce file size photoshop
how to swap faces in photoshop
reduce image file size photoshop
how to change file size in photoshop
how to replace sky in photoshop
magic wand tool in photoshop
reduce image size photoshop
sky replacement photoshop
blue background photoshop
product photography background
photoshop sky replacement
photoshop clipping paths
photoshop practice photos
product dimensions on amazon
amazon image size requirements
best size for amazon images
amazon image guidelines
portrait photography white background
photoshop clothing
off white backgrounds
blue photoshop background
ebay photo dimensions
amazon photo requirements
photoshoot style
what is photo editing
500x500 background
pen tool icon
auto face swap
etsy photos size
masking magic
how to face swap
ecommerce photo
product background
mannequin images
path images
image masking
ebay image size
etsy photo size
ebay picture size
photoshop reduce file size
ecommerce photography
etsy listing photo size
amazon product image requirements
amazon image requirements
photoshop practice pictures
reduce file size in photoshop
best camera for product photography
product dimensions amazon format
photoshop reduce image size
amazon product image size
hair transparent background
photoshop practice images
best image size for ebay
sky background images for photoshop
off-white background
beauty product photography
how to reduce image file size in photoshop
magic wand tool photoshop cs6
how to use photoshop cs6
how to change background color in photoshop cs6
how to remove white background in photoshop cs6
how to change background in photoshop cs6
how to reduce image size in photoshop without losing quality
how to get rid of whitespace in photoshop
how to take pictures for amazon
how to change the sky in photoshop
photoshop cs6 change background color
how to replace a sky in photoshop
how to photoshop faces onto things
how to photoshop a face onto another body
remove background color photoshop
how to blend faces in photoshop
how to do a face swap in photoshop
how to put a picture on a background in photoshop
Delighted to see the post here. Gathered lot of good resources from your article. Thanks a lot for sharing this post on public.
ReplyDeleteClipping Path | Shadow Creation | Vector Conversion | Product Photo Editing
Great post. Articles that have meaningful and insightful comments are more enjoyable, at least to me. It’s interesting to read what other people thought and how it relates to them or their clients, as their perspective could possibly help you in the future.
ReplyDeleteHey what a brilliant post I have come across and believe me I have been searching out for this similar kind of post for past a week and hardly came across this. Thank you very much and will look for more postings from you. Miami Outdoor Lighting
ReplyDeleteGood Post! Thank you so much for sharing this pretty post, it was so good to read and useful to improve my knowledge as updated one, keep blogging.
ReplyDeleteClipping Path |
Clipping Path, shadow-service |
shadow service |
You can do a lot of beautiful things in Photoshop. Lots of beautiful log designs.
ReplyDeleteClipping Path |
Clipping Path, shadow-service |
shadow service |
Great one, This post make me speechless because get lots of information and the source I need and you provide it here in detail. thanks
ReplyDelete